- Collect each channel's published image rules on one sheet before the shoot is quoted; noon, Google, Meta and Shopify ask for different things.
- Shoot on-model, flat-lay and detail images for every style and colourway, tracked on a shot grid.
- Fix the light, shoot a grey card, capture raw, correct against the physical garment and export in sRGB.
- Frame wider than any single crop so one image yields 1:1, 4:5 and 9:16 versions.
In our experience, many small fashion labels have a planning problem rather than a photography problem. The lookbook gets shot for Instagram, the product pages get phone photos on a bedroom door, marketplace listings come back rejected, and the same dress shows up in slightly different colours on different channels. A shopper who cannot tell what colour a garment really is, how long it sits on the body or what the fabric looks like close up is being asked to guess, and we would expect that guesswork to show up in returns and in how far people trust the label.
This guide plans one shoot that feeds every channel: your own store, marketplaces, Meta catalogue ads and short vertical video. It starts with the specifications each channel publishes, then builds the shot list, lighting, colour and framing around them.
Start with a channel spec sheet, not a mood board
Before anyone books a model or a studio, write down where every image will end up and what that channel accepts. The rules differ more than most founders expect, and some of them decide how you light and frame on the day. The table below summarises what the platforms’ own help pages said when we checked them in October 2026. Specifications change, so check each page again before your shoot.
| Channel | What its help page asks for | What it means for the shoot |
|---|---|---|
| noon (seller SKU images) | JPEG only, at least 660 px wide, RGB/sRGB, max 10 MB; primary image on a pure white background, except fashion, which uses light grey; adult apparel recommended on models rather than flat lays or hangers (swimwear and underwear excepted); kids’ apparel flat lay or hanger recommended; at least 3 images recommended; sequence front, back, side, other angles, details, usage; “conflicting images” listed as a rejection reason (noon Partners help centre) | Plan a light-grey seamless set for on-model primaries, and shoot the full angle sequence for every style. |
| Google Merchant Center (Shopping listings) | Announced minimum of 500 x 500 px for all products beginning 31 January 2027 (the page does not set out a different interim figure, so treat 500 x 500 px as the floor now), 1500 x 1500 px or more recommended; product fills 75–90% of the image; no promotional text, watermarks or added logos; a unique image per variant and no group shots of several colourways (Google Merchant Center Help) | Shoot each colourway separately and leave enough frame to crop to a tight square. |
| Meta catalogue (Facebook and Instagram shops and catalogue ads) | JPEG or PNG, at least 500 x 500 px and up to 8 MB, up to 50 additional images per item (Meta for Developers, catalogue fields) | The extra-image allowance is generous: detail and fabric shots have somewhere to go. |
| Shopify store | Under 20 MB, up to 5000 x 5000 px; 2048 x 2048 px “usually displays best” for square images; keep a consistent aspect ratio on collection pages (Shopify Help Center) | Pick one product-page ratio and hold every style to it. |
| TikTok in-feed video ads | Vertical 9:16 recommended, at least 540 x 960 px; separate safe-zone files for Arabic (right-to-left) regions (TikTok Ads Manager help, updated June 2026) | Keep clips and stills tall, and leave clear space where interface elements sit. |
Two things stand out. First, a single background will not satisfy everyone: noon recommends light grey for fashion primaries, while your own store can use any background as long as it is consistent. Second, the marketplace and shopping rules are strict about clean images (no text, no badges, one variant per image), so campaign graphics have to be made from the clean files, never instead of them.
Build the shot list: on-model, flat-lay and detail
“On model vs flat lay” is not an either/or choice. Each answers a different question for the shopper, and in our view a complete product page needs all three types.
On-model shots: fit and proportion
- Front, back and side, full length, feet in frame. This matches the sequence noon sets out, and it is the order most product pages follow.
- One movement shot (walking, turning) for garments whose drape matters.
- For each style, record the model’s height and the size worn, and publish it next to the images. It is the cheapest fit information you can give.
- If you sell modest wear or abayas, plan a seated shot and a shot that shows sleeve and hem length clearly. These are details shoppers are likely to look for before buying.
Flat-lay or ghost-mannequin shots: shape and colourways
- Use them for kids’ wear (noon’s recommendation), accessories, and colourway grids on your own site.
- Steam everything. Creases tend to look careless, even at thumbnail size.
- Keep the camera height, lens and garment layout identical across styles so a collection page reads as one set.
Detail shots: fabric, finish and construction
- Fabric texture at close range, in raking light so weave and knit show.
- Closures, stitching, lining, embroidery, patterns, labels.
- One shot that shows thickness or transparency, for example a hand behind a lightweight fabric.
Write the list as a grid: one row per style and colourway, one column per shot. On the day, the grid is the checklist, and a missing cell is visible before the set is struck.
Light and colour: the part that prevents “it looked different online”
Colour mismatches are, in our view, one of the quickest ways for a small label to lose credibility, and avoiding them is mostly a matter of discipline rather than equipment.
- Fix the light. Use the same lights, positions and power for the whole shoot. Mixed daylight from a window and studio flash can shift colour from frame to frame.
- Shoot a reference target. Photograph a grey card or colour checker at the start of every lighting setup and whenever anything changes. The retoucher uses it to set white balance consistently across the set.
- Shoot raw files. They keep the data needed to correct white balance and exposure without degrading the image.
- Correct against the garment, not the screen. Keep the physical sample next to a calibrated monitor during retouching and compare under neutral light. A monitor that has never been calibrated will mislead everyone who approves the images.
- Export in sRGB. Browsers treat untagged images as sRGB (W3C CSS Color Module Level 4), and noon’s page asks for RGB/sRGB. Files exported in a wider colour space without a profile can look dull or oversaturated on customers’ screens.
- Name the colour in words too. “Dusty rose” in the product title and the swatch should match what the photo shows. If the two disagree, the shopper has no reliable reference.
For the same reason, retouching rules should be written before the shoot: remove lint and creases, never change the garment’s colour, shape or fabric. Marketplaces reject images that do not represent the product (noon lists “conflicting images” as a rejection reason), and a product that does not look like its photo is an obvious candidate for a return.
Frame once for every crop: 1:1, 4:5 and 9:16
The same photograph will be cropped square for marketplaces and Google, vertical for Instagram feed and catalogue ads, and tall for Stories, Reels and TikTok. If the photographer frames tightly for one of them, the others are lost. The practical fix is to shoot wider than any single crop needs and compose with all three in mind.
- Shoot vertical, with room around the model. Leave space above the head and below the feet so a 9:16 crop does not cut the garment, and enough width for a square crop that keeps the full outfit. noon’s page also asks for margins around the product (10% and 5% figures), though when we checked, its wording was inconsistent about which edges they apply to on vertical and horizontal shots; Google wants the product to fill 75–90% of the frame. Space in the original file lets you meet both.
- Use a crop overlay on the tethering screen. Most capture software can display guides for several ratios at once. Agree the ratios with the photographer in the brief. A common set is 1:1 for marketplaces and shopping feeds, a 4:5 vertical crop for Instagram and Facebook feeds, and 9:16 for Stories, Reels and TikTok. TikTok’s help page recommends 9:16; confirm the current feed and Stories ratios in Meta’s Ads Guide before the shoot.
- Keep the product out of the interface zones. Vertical video placements overlay captions, buttons and profile details. TikTok publishes separate safe-zone files for Arabic right-to-left layouts, which matters if your ads run in Arabic.
- Resolution sets the ceiling. Google recommends 1500 x 1500 px or more and Shopify suggests 2048 x 2048 px for square images. A file from a current camera will usually cover both after cropping; a phone image cropped hard may not.
Plan the video at the same time. A few seconds of each look moving, filmed vertically under the same light, gives you Reels and in-feed clips that match the stills instead of looking like a different brand. Brief both in the same document, whether one team directs them (as our video, motion and photography service does) or two. Those clips also feed catalogue ads; our guide to Meta ads for a fashion store without discounting covers how to use them.
Answer the questions that cause returns
Images are part of the size and fabric information, not decoration on top of it. Before signing off, check each product page against the questions a shopper would otherwise ask a salesperson:
| Shopper’s question | Image that answers it | Text that should sit next to it |
|---|---|---|
| Will it fit me? | Full-length front, back and side on model | Model height and size worn; size chart with garment measurements |
| How long is it? | Full length with feet visible; seated shot for long garments | Length in centimetres for each size |
| What does the fabric feel like? | Close-up in raking light; thickness or sheerness shot | Fibre composition and fabric weight, matching the care label |
| Is this the colour I’ll receive? | Colour-corrected image of that exact variant | Colour name used consistently in title, swatch and label |
| How is it finished? | Closures, seams, lining, embroidery | Care instructions |
The fibre composition and care wording should match what is on the garment’s own label. If you are still designing those labels, our guide to fashion labels, tags and packaging covers what they usually need to carry.
From shoot to listing: files, names and handover
A good shoot can still fail at upload. Many of the rejection reasons on noon’s list are file problems rather than photography problems: duplicates, wrong sequence, misnamed files, oversized files, borders or text added later. A short production routine prevents most of them.
Naming and versions
- Name files by SKU, colourway and shot number, for example SKU-colour-01-front, so the upload order matches the required sequence.
- Keep three versions of every selected image: the retouched master (full resolution), clean channel exports (square, vertical, tall), and campaign versions with text or offers. Only the clean exports go to marketplaces and shopping feeds.
- Export one image per variant. Group shots of several colours belong in campaigns and lookbooks, not in Google or marketplace listings.
Consistency rules for the next shoot
Write down the lighting diagram, camera height, lens, background colour, model positions and crop guides, and keep them with the brand guidelines. When you add a new collection in six months, the new products should sit next to the old ones without looking like another store. In our view that consistency does a lot to make a small label look established, and it is easier to keep than to rebuild.
Before you approve a shoot quote, check that it states:
- The shot grid: styles, colourways and shots per item
- Backgrounds and which channel each one is for
- Crops and pixel sizes delivered for each channel
- Colour workflow: reference target, raw capture, sRGB export
- Retouching scope and what is not allowed
- Whether short vertical video is included under the same light
- File naming, delivery format, and who holds the raw and final files and the usage rights afterwards
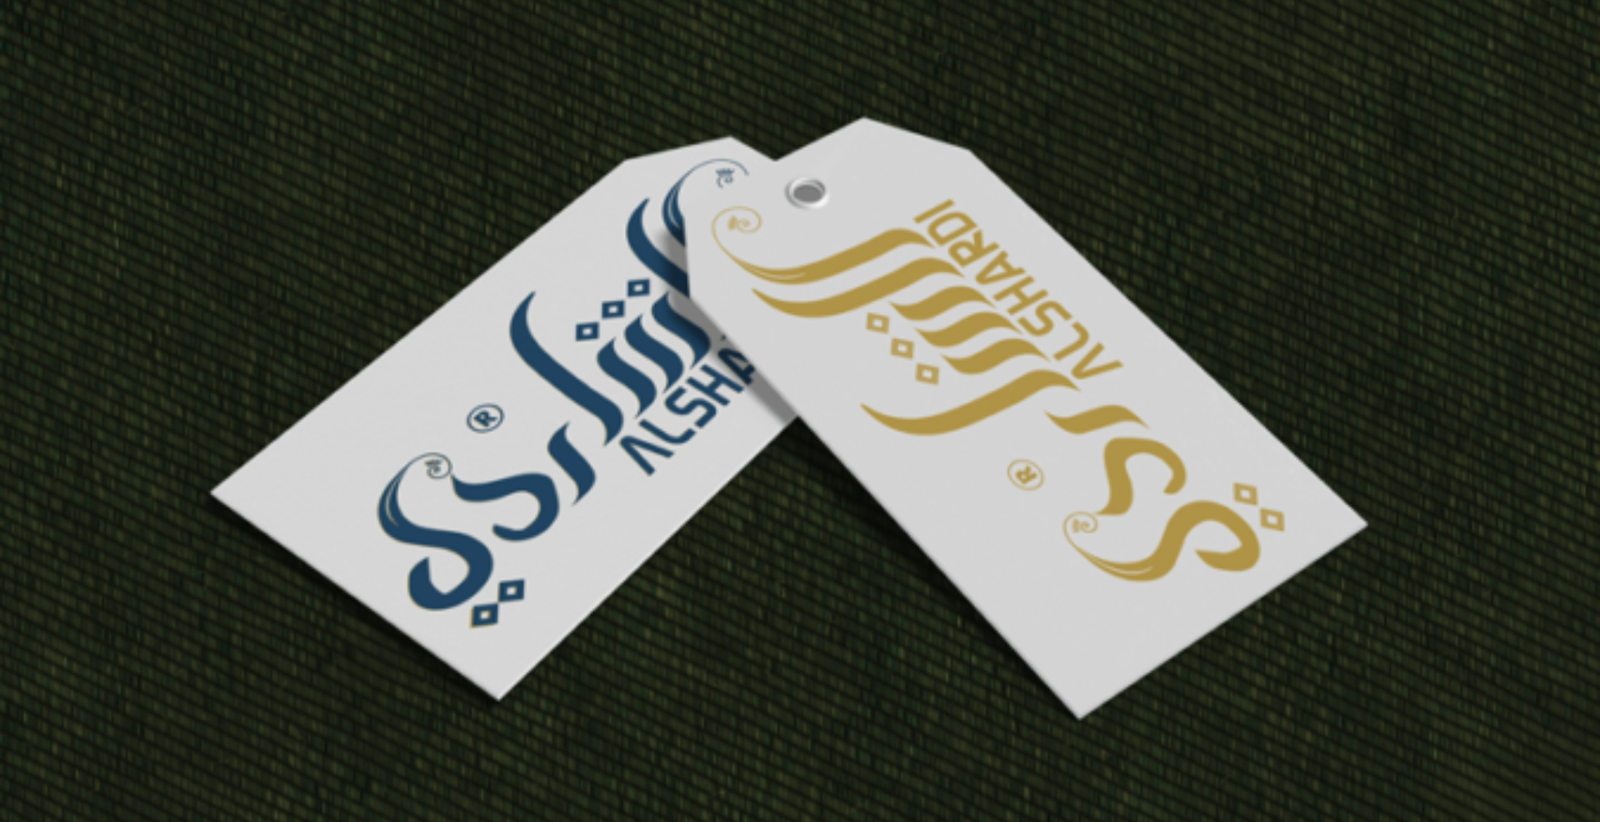
Your product pages are where all of this ends up, so the site template has to suit the images too: consistent ratios on collection pages, zoom on product pages and room for size and fabric details. If the store template fights the photography, fix that before the next shoot (it is part of our website design work). For an example of fashion work, see the identity, campaign visuals, brand applications and reels we created for Alshardi, a fashion brand in Egypt. Before booking the next shoot, pull your three most-returned styles and check their pages against the returns table above; the missing cells are the first lines of the new shot grid.
Frequently asked questions
Should clothing be photographed on a model or as a flat lay?
Both, for different jobs. On-model images show fit, length and proportion; flat lays show shape and colourways cleanly. noon's seller help page recommends models for adult apparel (swimwear and underwear excepted) and flat lays or hangers for kids' apparel.
What background should fashion product photos use?
It depends on the channel. noon recommends a light grey background for fashion primary images, while Google Merchant Center asks for a clean, unobstructed view with no borders or promotional text. On your own store, any background works if it stays consistent across the collection.
What image size do I need for e-commerce listings?
When we checked in October 2026: noon asked for at least 660 px wide in JPEG, Meta's catalogue at least 500 x 500 px, Google had announced at least 500 x 500 px for all products beginning 31 January 2027 and recommended 1500 x 1500 px or more, and Shopify suggested 2048 x 2048 px for square images. Check each help page before your shoot.
Why do my product colours look different online?
Usually because of mixed lighting, no reference target, an uncalibrated retouching monitor or an export in the wrong colour space. Browsers treat untagged images as sRGB, so export in sRGB and compare the final image with the physical garment.
Can I use one photo for Instagram, TikTok and marketplaces?
Yes, if it is framed for it. Shoot vertical with space around the model so the same file can be cropped square for marketplaces, 4:5 for feed posts and 9:16 for Stories, Reels and TikTok, keeping text and badges off the clean marketplace versions. Confirm each platform's current ratios before the shoot.
- noon Partners Help Center, Image requirements and rejection reasons for the seller SKU (2026-10-30).
- Google Merchant Center Help, Image [image_link] (2026-10-31).
- Meta for Developers, Catalog fields (2026-10-31).
- Shopify Help Center, Product media types (2026-10-31).
- TikTok Ads Manager Help Center, Video ads specifications (2026-06).
- W3C, CSS Color Module Level 4 (Candidate Recommendation Draft) (2026-10-29).